


Wire harnesses are the essential nervous systems of countless electronic devices and machines, from cars and airplanes to household appliances. They organize bundles of wires and cables, protecting them and ensuring reliable connections. But how are these complex assemblies made? Let’s break down the key steps in the **wire harness manufacturing process**:
1. Cutting & Measuring (The Starting Point):**
The process begins with cutting wires to the exact lengths specified in the engineering drawings. Precision is key here to ensure everything fits perfectly later on.
2. Stripping (Exposing the Conductor):**
Next, the protective insulation is carefully stripped off both ends of each cut wire. This exposes the metal conductor underneath, ready for connection. Stripping must be accurate – too much exposes too much wire, too little prevents a good connection.
3. Crimping (Attaching Terminals):**
This crucial step involves attaching metal terminals or connectors to the stripped wire ends. A specialized *crimping* machine uses significant force to squeeze the terminal onto the wire. A secure crimp creates a strong electrical and mechanical bond. Quality control here is vital for reliability.
4. Soldering (Alternative Connection – Optional):
*For some specific applications or types of connections, soldering (melting metal alloy to join components) might be used instead of or in addition to crimping.
5. Assembling the Bundle (Laying it Out):
Now it’s time to assemble the individual wires according to the harness design. This often happens on a large, flat board called a *harness board* or *assembly jig*. The board has pegs and guides marking exactly where each wire should run, branch off, or be grouped. This ensures the harness retains its correct shape.
6. Securing & Protecting (Taping, Sleeving, Tying):
To keep the bundle neat, protected, and manageable:
Taping: Sections of the bundle might be wrapped with electrical tape.
* **Sleeving:** Protective tubing (like braided loom, corrugated conduit, or heat-shrink) might be slid over parts of the harness for extra abrasion resistance or environmental protection.
* **Tying:** Cable ties (zip ties) or special clamps are used to secure wires together at specific points or to anchor them to connectors.
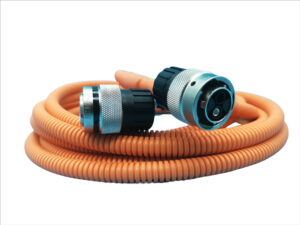
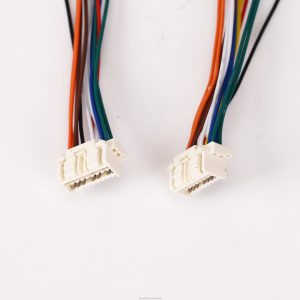
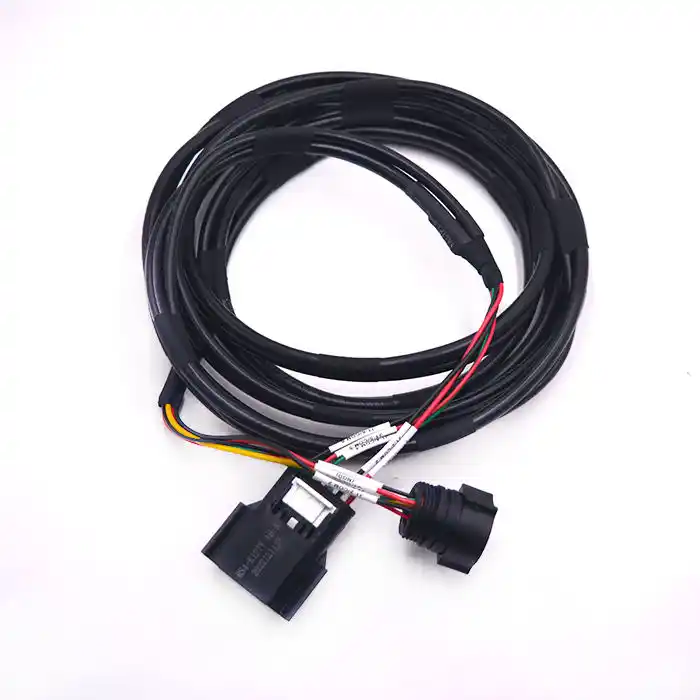
**7. Adding Connectors (Plugging In):**
* The pre-crimped wire ends are inserted into their designated slots within plastic connector housings. This creates the pluggable interfaces that allow the harness to connect to devices or other harnesses.
**8. Testing (Quality Assurance):**
* **Crucially, every finished harness undergoes rigorous testing.** Common tests include:
* **Continuity Testing:** Ensures electricity flows correctly through each circuit (no unintended breaks).
* **Hi-Pot (High Potential) Testing:** Checks the insulation can withstand high voltage without breaking down.
* **Checking for Shorts:** Verifies no wires are accidentally touching where they shouldn’t.
* **Visual Inspection:** Confirms correct assembly, secure crimps, proper labeling, and overall build quality.
**9. Final Packaging & Shipping:**
* Once a harness passes all tests, it’s carefully packaged to prevent damage during transport and shipped to the customer for installation.
**Why Understanding This Matters:**
Knowing the steps involved highlights the precision, skill, and quality control needed to produce reliable wire harnesses. A well-made harness ensures consistent performance and safety in the final product.
Need a custom wire harness solution? [Feel free to contact us!]